
The short answer
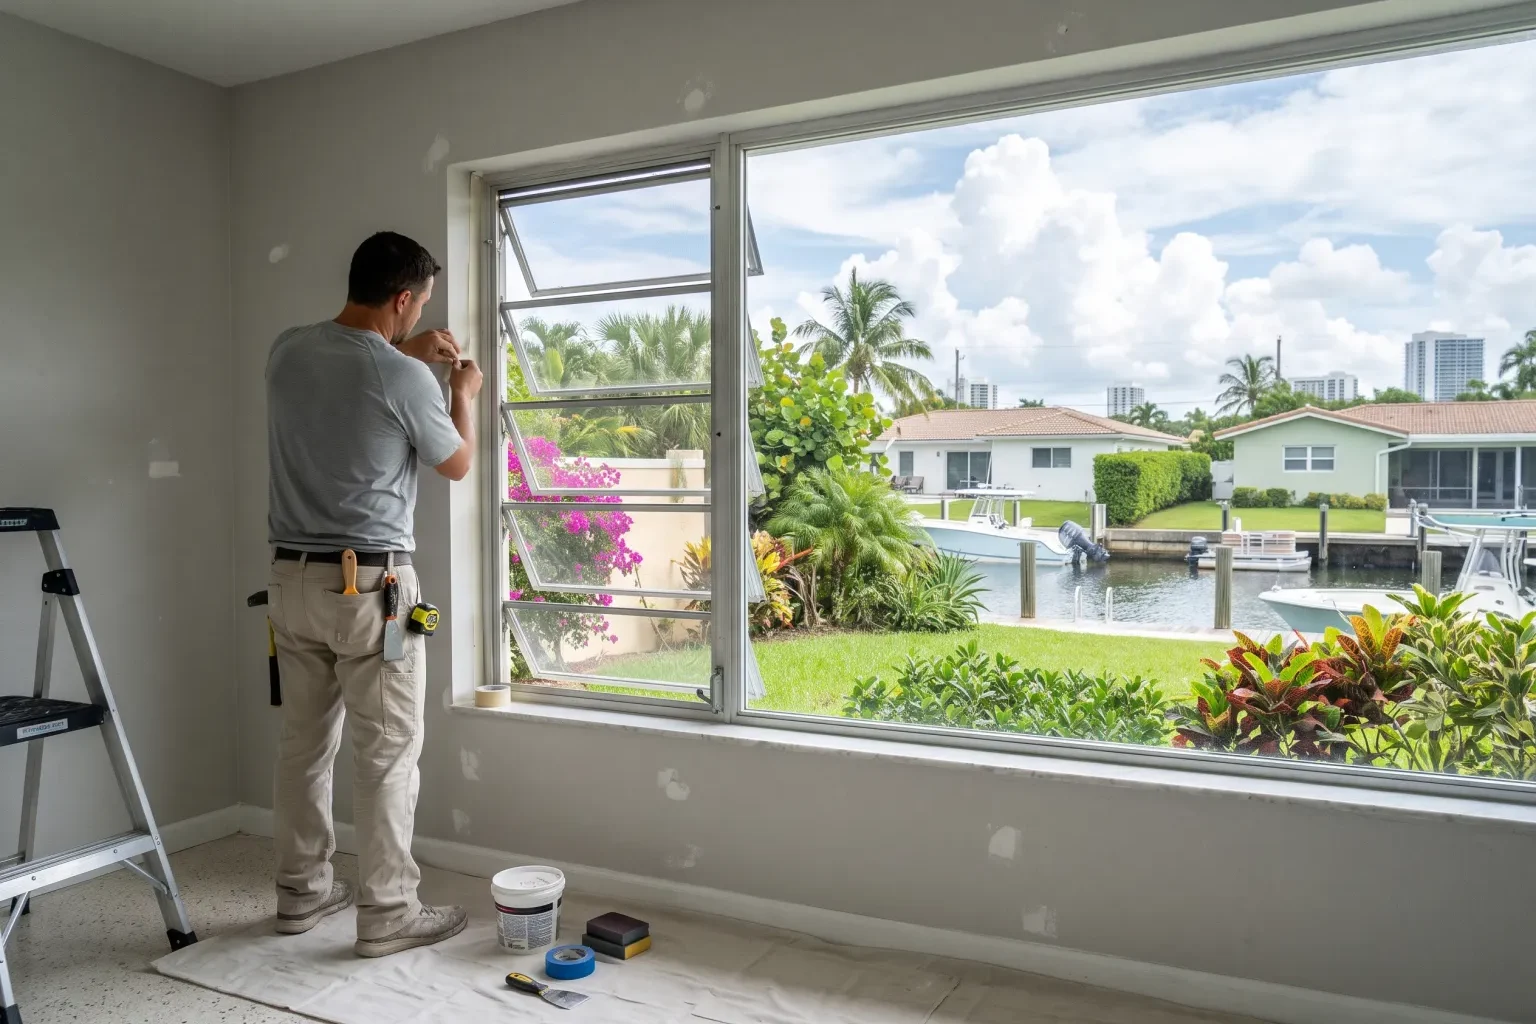
Wall preparation is needed whenever walls have holes, cracks, texture, damaged drywall paper, old adhesive, loose paint or moisture issues before new wallpaper goes up. We repair the surface, skim coat where needed, seal it with the right wallcovering primer and set layout lines so the paper hangs straight, flat and removable later.
Most wallpaper problems people notice months later, such as lifting edges, bubbles, seams that open or bumps showing through, start with the wall rather than the paper. A wallcovering is a thin skin. It shows whatever lies underneath, and it can only stay attached as well as the surface it is glued to. True Wallpaper Installation treats preparation as its own service for homeowners in Fort Lauderdale and nearby Broward County cities. Sometimes it is the first half of a wallpaper job we are hanging; sometimes it is the step a homeowner hires us for after old paper came down and left a mess. This page walks through when walls need repair, the methods and primers we use, how that work connects to the hanging that follows, what affects the effort involved and how to keep the repaired walls in good shape.
Signs a Wall Needs Work First
Some needs are obvious: a hole from a moved TV mount, a cracked corner bead or water stains below a window. Others are easy to miss until a shiny new paper exaggerates them. Hold a flashlight flat against the wall and look along it. Shadows reveal ridges from old drywall tape, sanding marks, patched areas and the waves that come with heavy orange-peel or knockdown texture, which is common in many Broward homes.
After wallpaper removal, damage is often hidden under the dried adhesive. Torn brown drywall paper, gouges from a scraper and leftover glue all have to be dealt with before anything new goes on. In older ranch homes with plaster or concrete-block walls, we also check for hairline cracks, hollow spots and the white mineral bloom that points to moisture coming through masonry. Hanging over any of these leads to failures.
- Peeling or flaking paint that lifts with tape
- Torn drywall face paper showing brown fibers
- Heavy texture that will show through thin papers
- Nail pops, cracked tape joints or dented corners
- Damp spots, bubbling paint or mildew near windows and exterior walls
How We Repair and Prime the Surface
Repair starts by removing anything loose. Flaking paint is scraped, old adhesive is washed off with warm water and a cleaner until the wall no longer feels slick, and loose tape is cut out. Torn drywall paper is never skimmed over directly, because water in the joint compound makes it bubble. We seal it first with an oil-based or shellac-based primer that locks the fibers down.
Holes are patched with mesh or backing as size requires, then filled in thin layers. Cracks at corners and joints are taped and finished. Textured walls are skim coated: thin coats of joint compound are spread across the wall with a wide knife and sanded smooth, giving a flat, consistent surface. Drying time between coats is real, and in humid summer months it can take longer unless the AC runs and the room stays ventilated.
Once smooth and dry, every wall gets a wallcovering primer. Acrylic primers suit most papers and nonwovens. Pigmented primers are used under grasscloth and thin papers so color does not show through. In bathrooms and laundry rooms, mildew-resistant products are an option. The primer evens out the porosity of patched and painted areas, gives the paste a uniform grip and protects the drywall when the paper comes down years from now.
From Prepared Wall to Finished Paper
Prep is designed around what will be hung next, so it ties directly into the installation steps. We measure each wall during prep and note where seams will land, so we can pay extra attention to smoothing those areas. A plumb line is marked for the first panel on each wall, since corners in many homes are not straight. Wall height and pattern repeat are checked so we know how much extra length to cut at the ceiling and floor.
When the paper goes on, the primed surface lets panels slide into position for pattern matching, then grip firmly. Seams close tightly because the wall underneath is flat, and trimming at the ceiling and baseboards gives a crisp line because there are no soft spots or crumbling edges for the blade to catch. If you plan to hang the paper yourself, we can stop after priming and leave the walls ready.
What Shapes the Amount of Prep
Wall prep varies more than any other part of a wallpaper project. We look at these points before giving a quote.
- Current wall condition: a freshly painted smooth wall may only need a primer coat, while a room with removal damage could need full repair.
- Type of paper planned: thin papers, metallics and grasscloth show more flaws and need smoother, more uniform prep than thick embossed vinyl.
- Texture: walls with heavy knockdown or popcorn-style texture require full skim coating and sanding.
- Pattern repeat and layout: complex layouts need more careful marking of lines and seam locations.
- Room size and ceiling height: taller walls mean more skim coating area and work from ladders or scaffolding.
- Moisture: any leak or damp exterior wall must be fixed and dried before the surface can be primed.
Looking After Repaired Walls
Prepared walls should stay clean and dry until the wallpaper goes up. If there is a gap between our prep and installation, avoid leaning items against the primed walls or taping anything to them. Keep the room cool and the humidity moderate, especially from May through October when outdoor air is heavy and rain is frequent. After hurricane season storms, check exterior walls for any new stains or damp areas before scheduling installation.
Once the paper is hung, the quality of the prep keeps working for you. Watch for small changes, such as a seam lifting near a window or a bulge near a pipe wall, and address them early. They usually point to a moisture source that is easier to fix while the problem is small.